With Azure Site Recovery you can migrate VMs from Physical Servers to Azure. This opens up a variety of useful use cases such as
- Migrating instances from AWS to Azure
- Having a Azure as a failover site for AWS instances. This guide will walk through how simple it is to use ASR to migrate an AWS VM to Azure.
1. First, you will need to sign up (or have access to) an Azure Subscription.
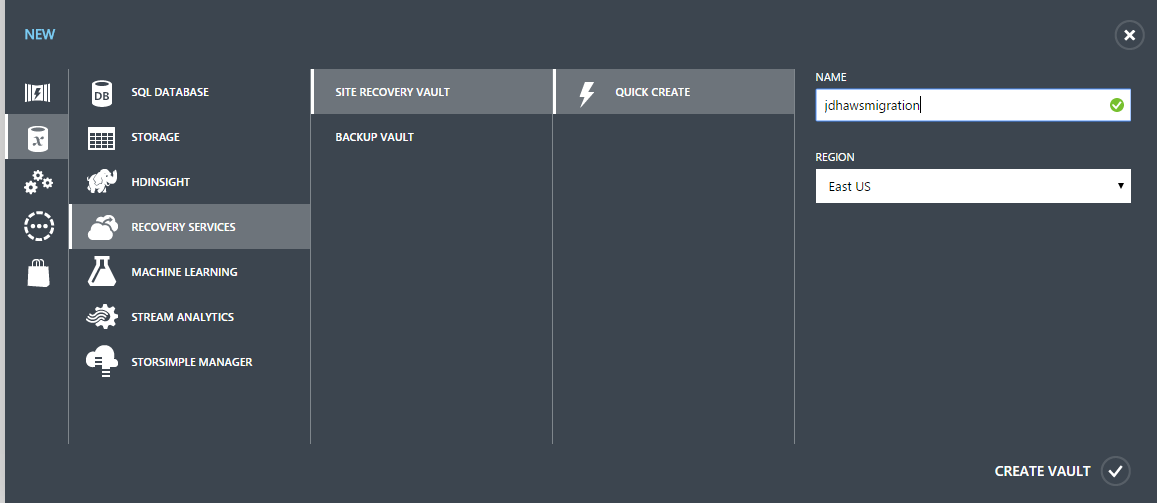
2. Create an Azure Site Recovery vault in the Azure Management Portal.
3. Now you will need to setup a VNET for holding the migration resources. To do that click the new button and choose Network Services –> Virtual Network –> Quick Create
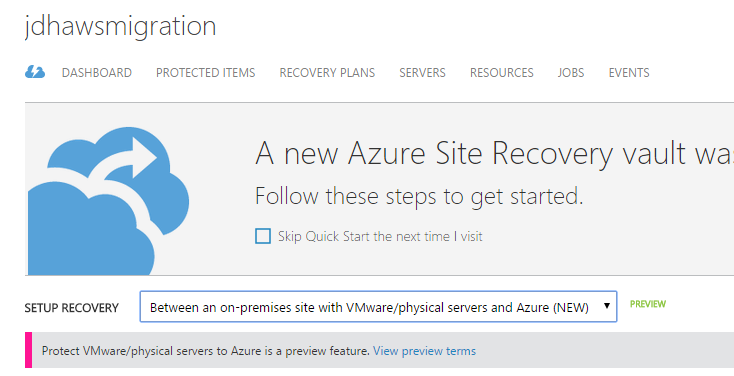
4. Click into the newly created vault in the portal and you should see a set of steps.
5. From the Setup Recovery drop down choose Between an on-premise site with Vmware/physical servers and Azure (NEW). If you don’t see this option then you will need to sign up for the preview and wait for it to be enabled.
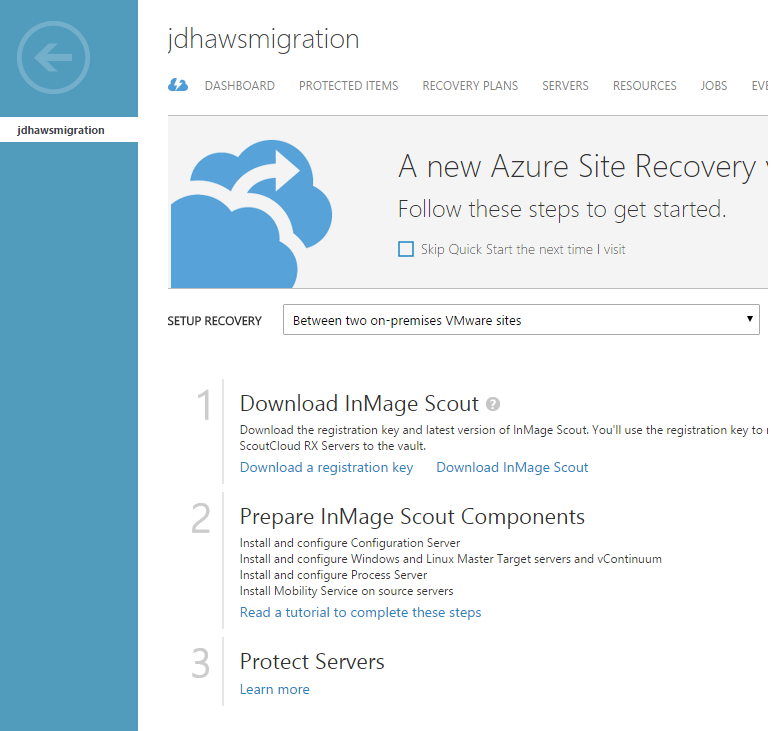
6. Now you can easily follow the steps that are helpfully outlined on this quick start page. First step is to prepare the target resources in Azure.
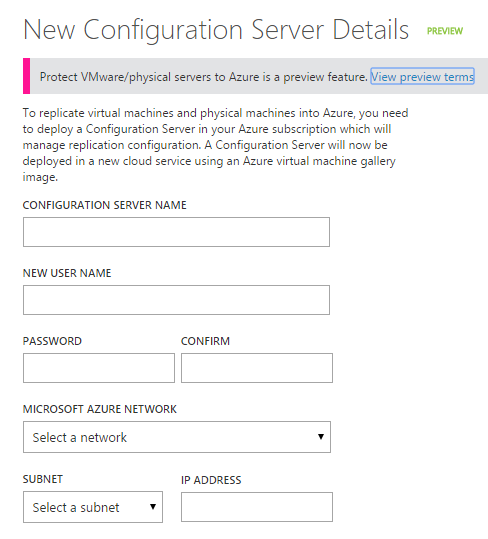
a. Deploy a Configuration Server. This will create a standard A3 (4 cores, 7GB memory) VM in the vnet you created eariler.
b. Download the registration key to your local computer. This will download a .vaultcredentials file.
c. Once the config server VM has been deployed go ahead and connect to it. You can do this by navigating to Virtual Machines in the portal and finding the Config Server that was deployed.
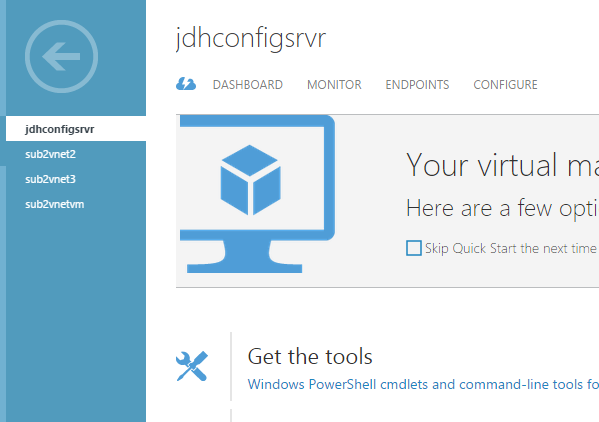
d. RDP into the VM, ignore the dialog and copy over the downloaded .vaultcredentials file you downloaded from the portal in step b.
e. When you RDP into to the Configuration server VM you will see this dialog:
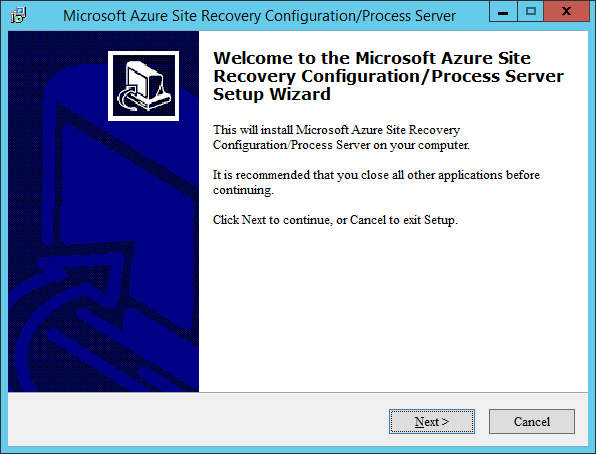
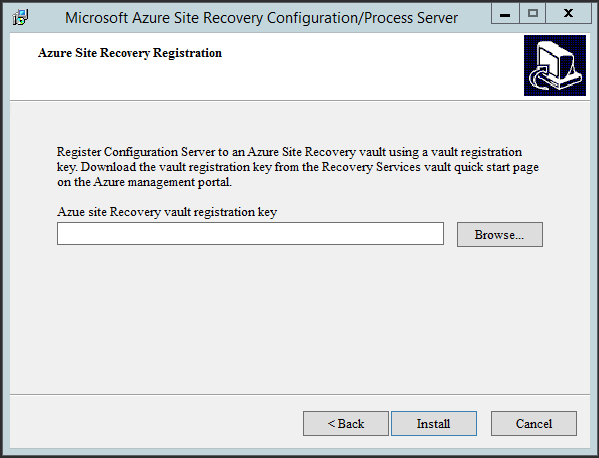
Follow the steps. This will install MySql on to the Config Server. During the process you will setup the passwords for various MySql users and you will have to provide the Vault Registration key (which you downloaded from the portal and copied to this VM).
It will then go ahead and download MySql and install it. The process takes no more than 5 minutes.
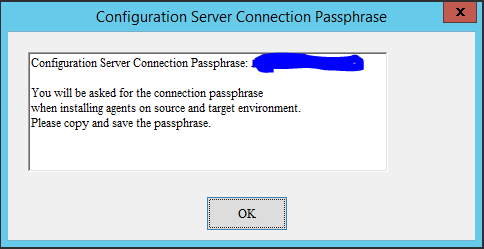
At the end a box will pop up that gives you the password for the agent. It is important to note this down
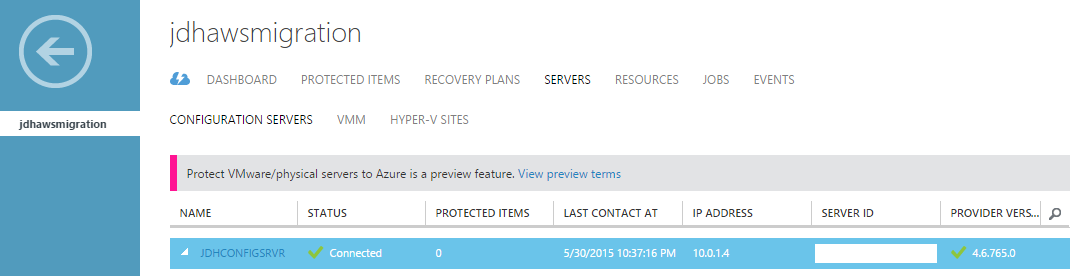
7. You should now see the configuration server appear under the Servers tab in the ASR vault.
8. Create and deploy the Master Target Server. Go back to the quick start page on the ASR Vault and click Deploy Master Target Server.
9. When the Master Target VM is created, go to Virtual Machines tab in the portal, select the newly created master target server and RDP in to complete the process. When you connect you will be prompted for some connection information. Enter the internal ip address for the Configuration Server (created in step 6a) and use the passphrase that you saved from earlier. (step 6e).
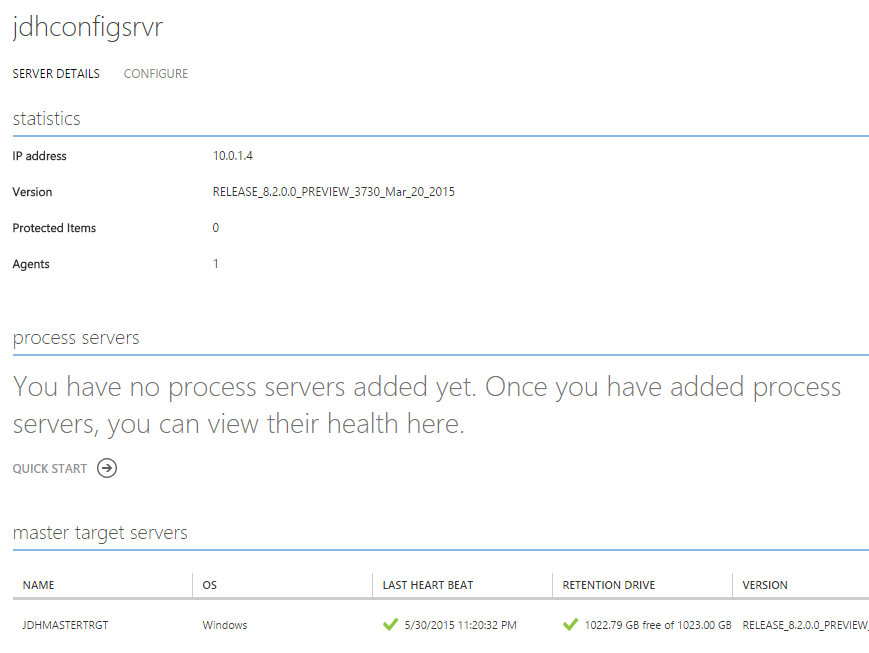
10. In the portal, go to the Servers page of the Vault and press Refresh. Then drill down into the Configuration server and check to see if the Master Target server now appears. If it does you are on the right track.
11. At this point we are ready to start protecting machines in a source environment - in this case AWS. In my test AWS environment I created a simple t1.micro Windows machine. This is the machine I plan to migrate over to Azure. The first step is, in the AWS environment, we need to create a process server in the same network that the machines we want to migrate are in. This process server will need to be somewhat beefy - I chose an m3.large.
This article provides some guidance on process server sizing. When you have created such a machine you now need to install the process server on it. Note that you need at least 8GB free on the disk.
a. RDP into the created process server and download the Process Server installers from the ASR Vault home page.
b. Extract these two programs:
*   Microsoft-ASR_CX_TP_8.2.0.0_Windows.exe
*   Microsoft-ASR_CX_8.2.0.0_Windows.exe
c. Run Microsoft-ASR_CX_TP_8.2.0.0_Windows.exe which installs some third party tools.
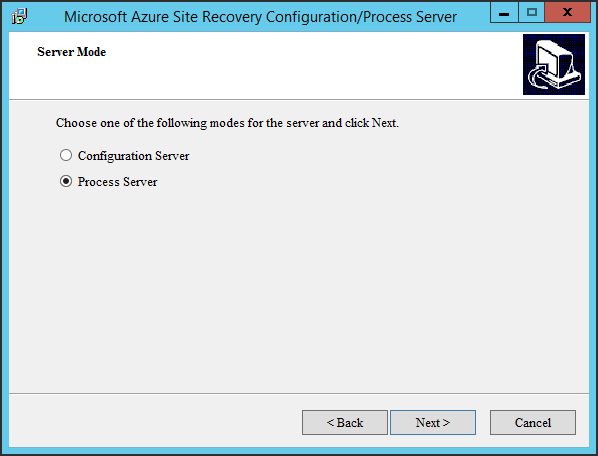
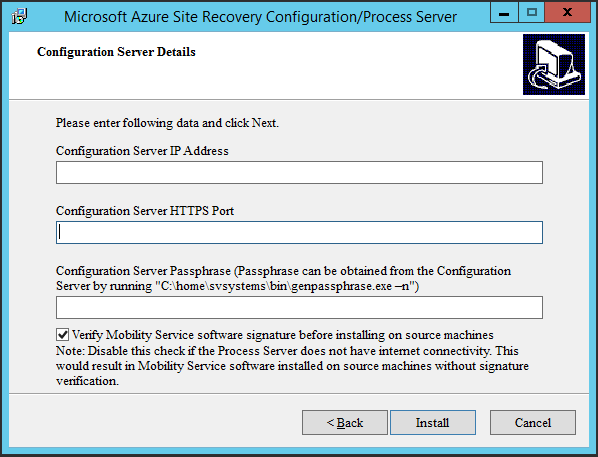
d. Run Microsoft-ASR_CX_8.2.0.0_Windows.exe. On server mode choose “Process server”.
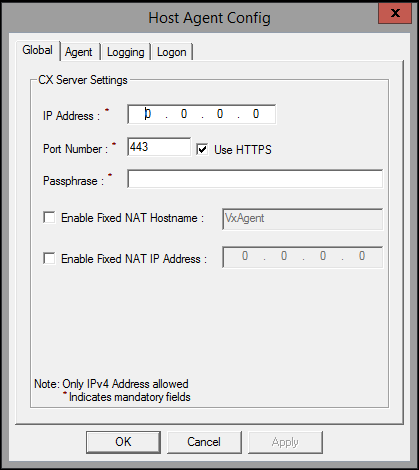
e. You will then need to enter the Configuration Server details. Enter the public ip address of the config server and public https port (unless you have a VPN connection setup between environments - in which case you can use the internal ip address). You can find this information from the VM dashboard in the Azure Management portal. You will also need to enter the password you captured earlier.
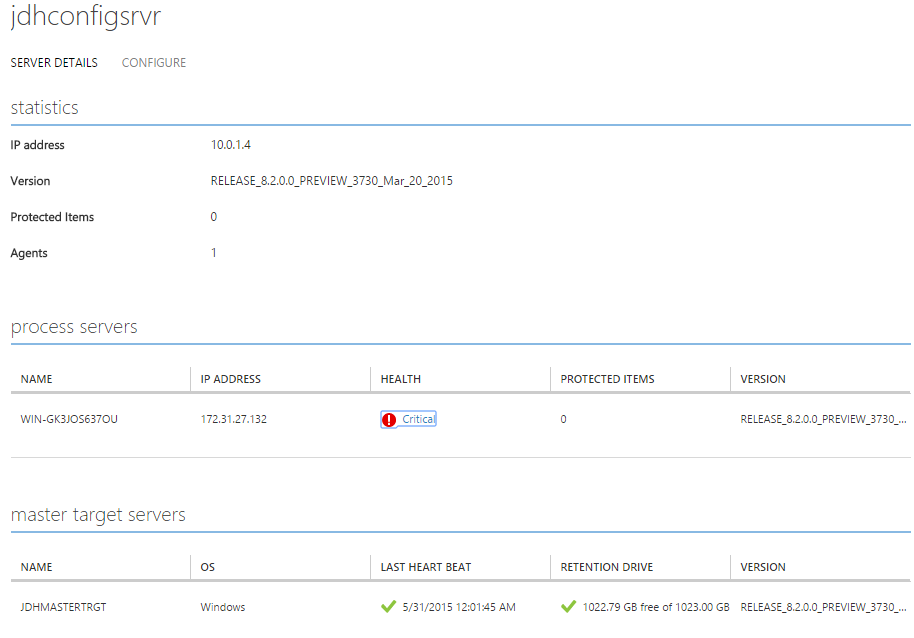
f. Validate that the Process Server is correctly registered with the Configuration Server by going back to the Azure Management Portal and looking under Vault –> Configuration Server –> Server Details
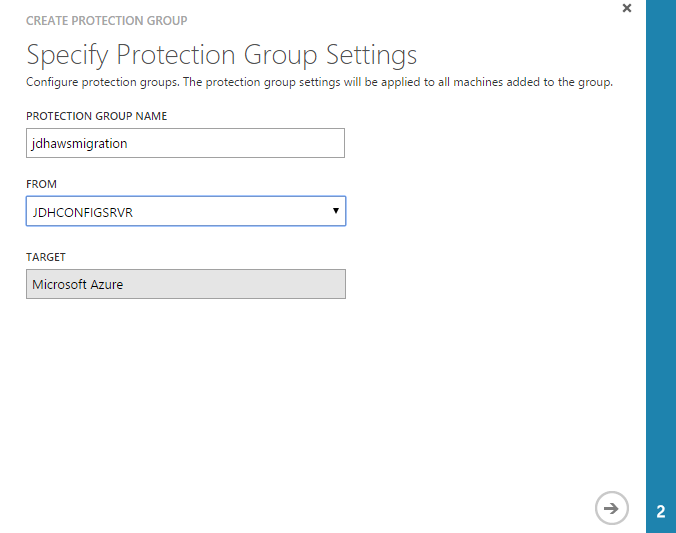
12. Create the protection group within the Azure Site Recovery vault.
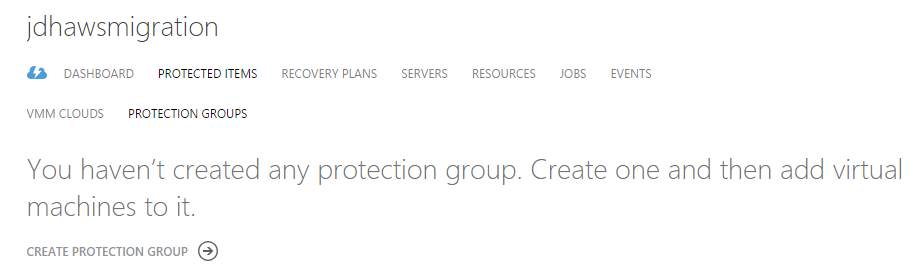
a. First create the group, indicating from and target.
b. Then set up the replication settings.
Multi VM consistency: If you turn this on it creates shared application-consistent recovery points across the machines in the protection group. This setting is most relevant when all of the machines in the protection group are running the same workload. All machines will be recovered to the same data point. Only available for Windows servers.
RPO threshold: Alerts will be generated when the continuous data protection replication RPO exceeds the configured RPO threshold value.
Recovery point retention: Specifies the retention window. Protected machines can be recovered to any point within this window.
Application-consistent snapshot frequency: Specifies how frequently recovery points containing application-consistent snapshots will be created.

13. Once that is created you will need to install the mobility service onto your source machines from your process server. This can be done manually or automatically. In order to be done automatically there are a list of things that need to be in place - see here
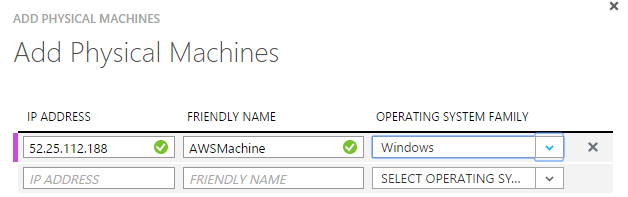
14. Add the target machine to a protection group.
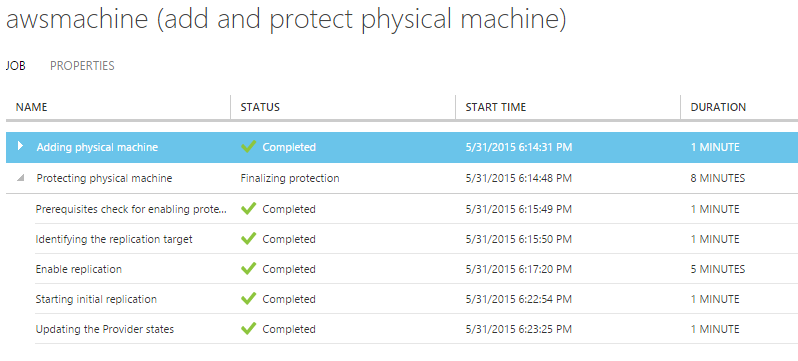
15. Then the protection job will start to initialize the protection
16. After protection has been enabled, data will be synced and replicated. This initially may take several hours depending on the speed of the connection and the size/# of machines being protected.

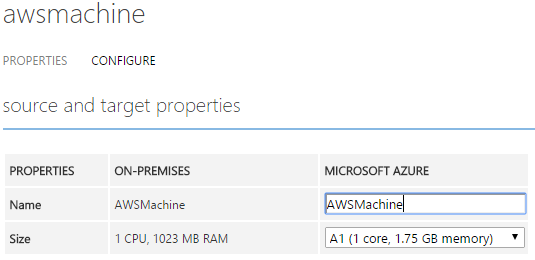
17. After a machine has a Protected status you can configure its failover properties. In the protection group details select the machine and open the Configure tab.
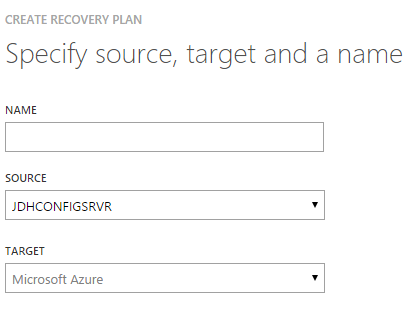
18. Add a recovery plan.
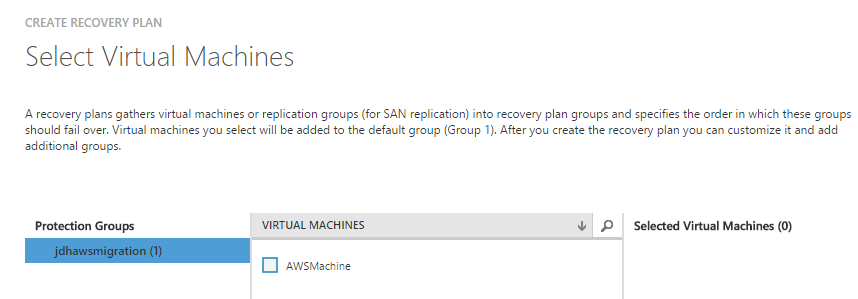
19. Add the virtual machines into the Recovery plan.
20. Now you are ready to failover. From the bottom bar choose Failover

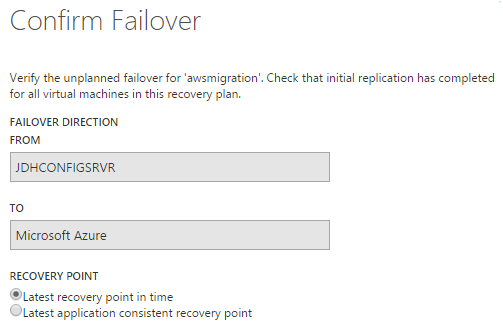
21. Confirm the failover.
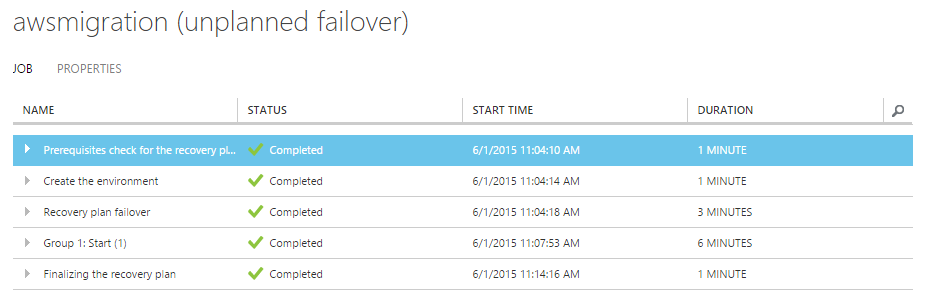
22. When the failover is complete you should see all the steps with a green check.
At this point if you go to the VM tab in Azure you should see your migrated VM now up and running. You may need to add a public endpoint to allow you the ability to RDP in.
This completes the migratation. You can find out more details about Azure Site Recovery here