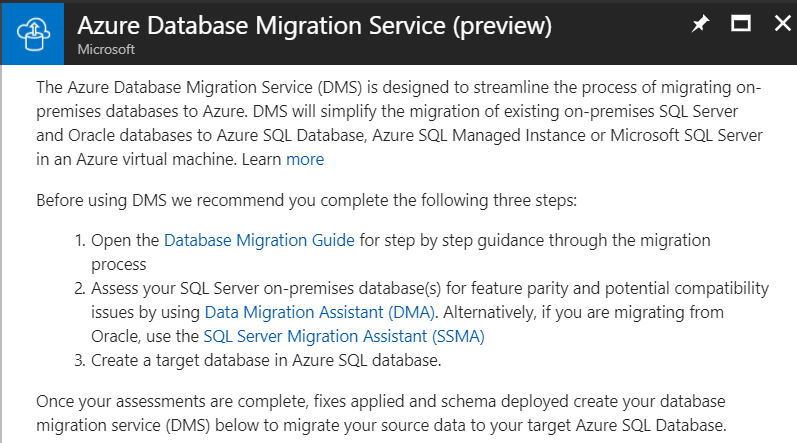
Back in May, at the Build conference, Microsoft announced a new service - the Azure Database Migration Service. Now the service is available in public preview. It is the quickest and easiest way to migrate on-premises databases into the cloud. The new service uses a simple, guided process to streamline the migration and allow for current operations to continue while the migration is happening. It is as easy to use as the documentation claims. To get started, you will need the following:
- A blank Azure SQL Database.
- A source database you want to migrate.
- The Database Migration Assistant tool (installed where it has access to the source database).
First step is to perform an assessment to see if there are any incompatibilities. For this you need to use the Data Migration Assistant (download here).
Install this somewhere so that it will have the ability to connect to your source database. Once the assesment is complete it will create a report of any incompatibilities with guidance on remediation. You will need to remediate any issues before beginning the migration.

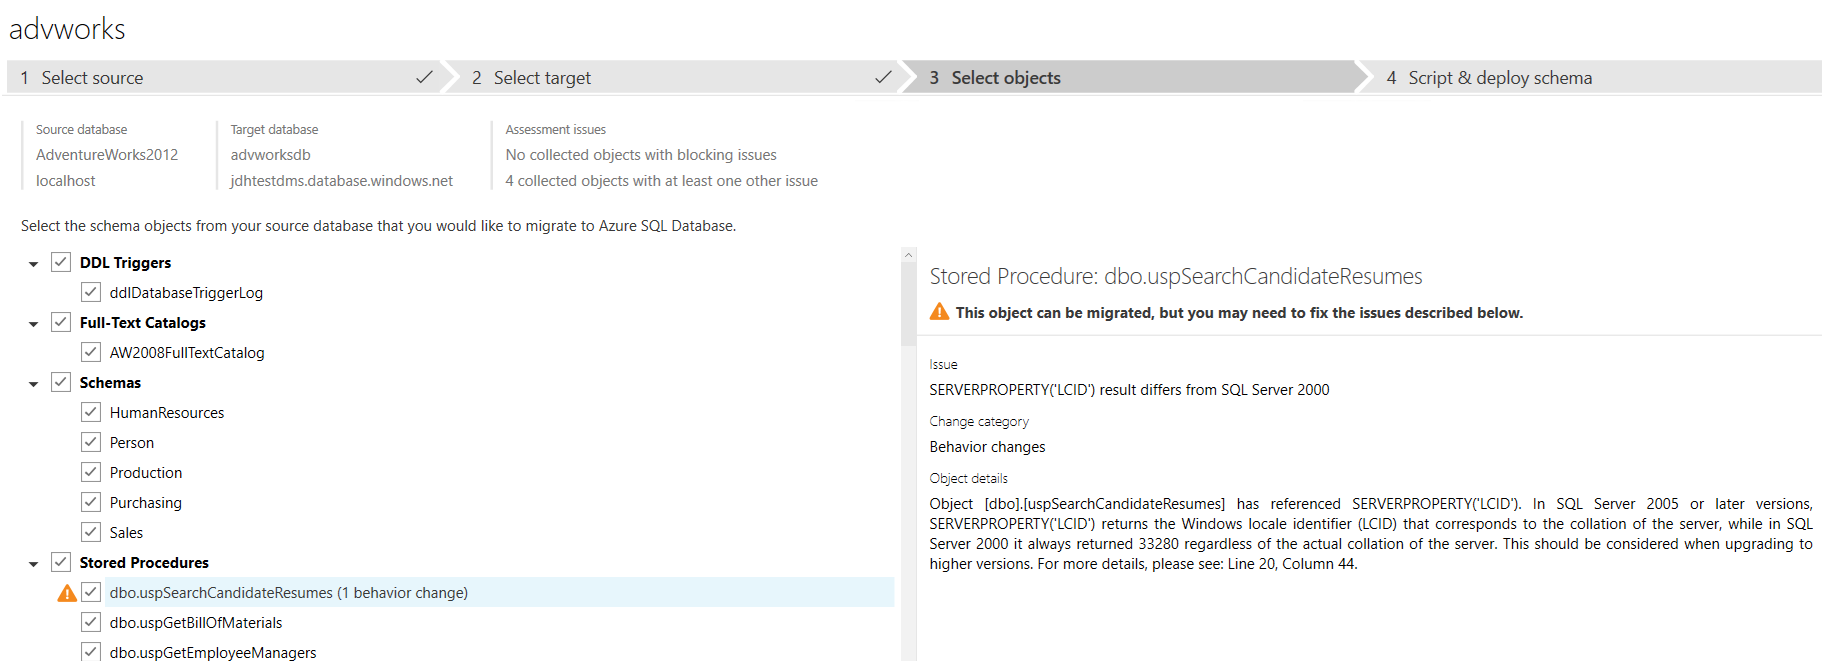
After the assesment is complete (and any issues resolved), you will use the same tool to migrate the schema to your Azure SQL database. Create a migration project in the tool and then choose Schema Only as the migration type. Specify the source as SQL Server and the target as Azure SQL. Enter the connection information, select the objects to migrate the schema for and then deploy the schema. For some objects you will see they have an exclaimation next to them. Clicking this object will tell you what the issue is with it.
Now you can begin to use the Azure Data Migration Service to migrate the data. In the Azure Portal, search for data migration service and go ahead and click create.
A couple of interesting things to note on creation:
-
You don’t choose a resource group. The creation process will create a resource group with the same name as the migration service.
-
The Data Migration Service is provisioned within a VNet - this will allow it access to data via private ip addresses that have connectivity into the VNet (or are part of the VNet already).
-
From a pricing tier perspective you can choose the compute tier you need. This can be from 1, 2, or 4 cores. The below table gives some guidance on how to choose which cores. More cores = faster migration of data.

Once creation has completed you will be able to navigate to the resource group and see three things that got created:
- The VNet
- The migration service itself
- A network interface card.

For Public Preview, Azure Data Migration Service will enable migrations from SQL Server 2005 and later versions to Azure SQL Database. Over time, other options will become available.
Now you need to migrate the data. In the Azure portal, navigate to the DMS and create a new project. Specify source and target type. You will then need to define the source connnection information. The key thing here is that the DMS has access to the source SQL Server. This can be achieved via connecting the VNet the DMS service sits in to your on-premises network via ExpressRoute or site-to-site VPN.
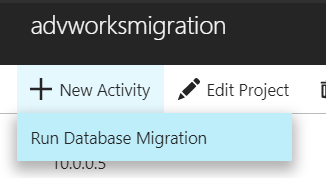
You will then need to specify the target database connection information. This will be your Azure SQL Database that you migrated the schema to earlier. Once all that is done you can choose New Activity and then Run Database Migration. Walk through the steps and begin the migration - here you can choose to migrate a subset of tables from source to target if you so desire.
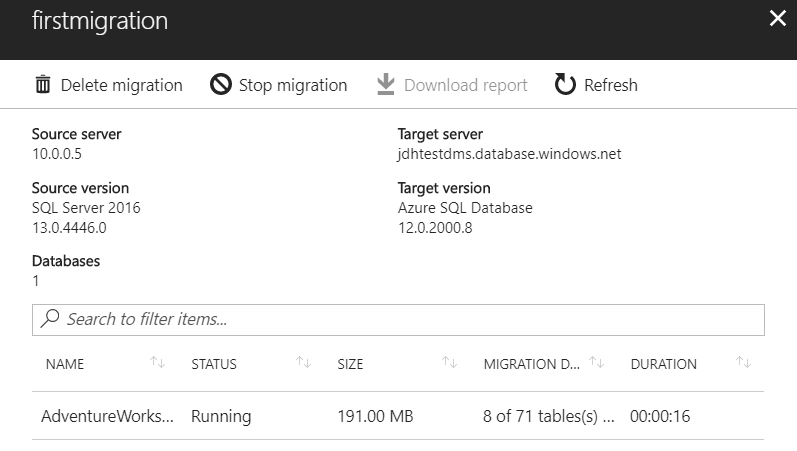
At this point the migration will begin and you can monitor its progress via the portal.
As you can see, it is very easy to use and at this time it is currently free during its preview phase.